
Note
This documentation is for a development version. Click here for the latest stable release (v0.2.2).
Appendix
Supported Hardware
IP packages can be purchased through Applied Brain Research.
DE1-SoC
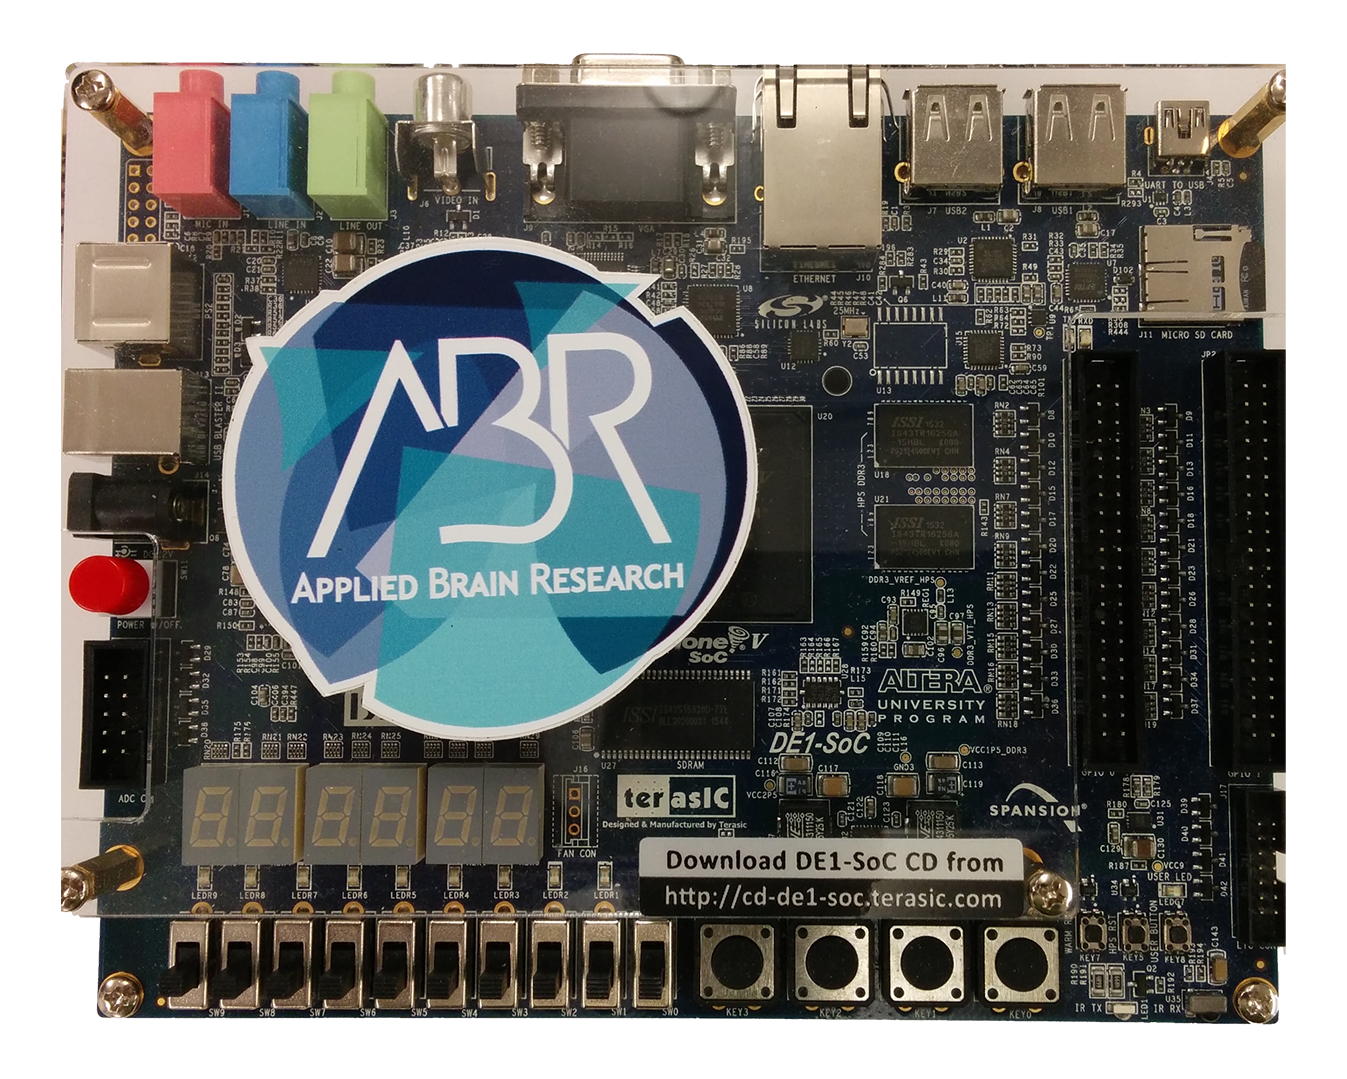
The DE1-SoC board is manufactured by Terasic and uses an Intel Altera Cyclone V FPGA paired with a dual core ARM Cortex A9. The board is available for purchase from Terasic. See the NengoDE1 documentation for how to use this board with NengoFPGA.
PYNQ-Z1
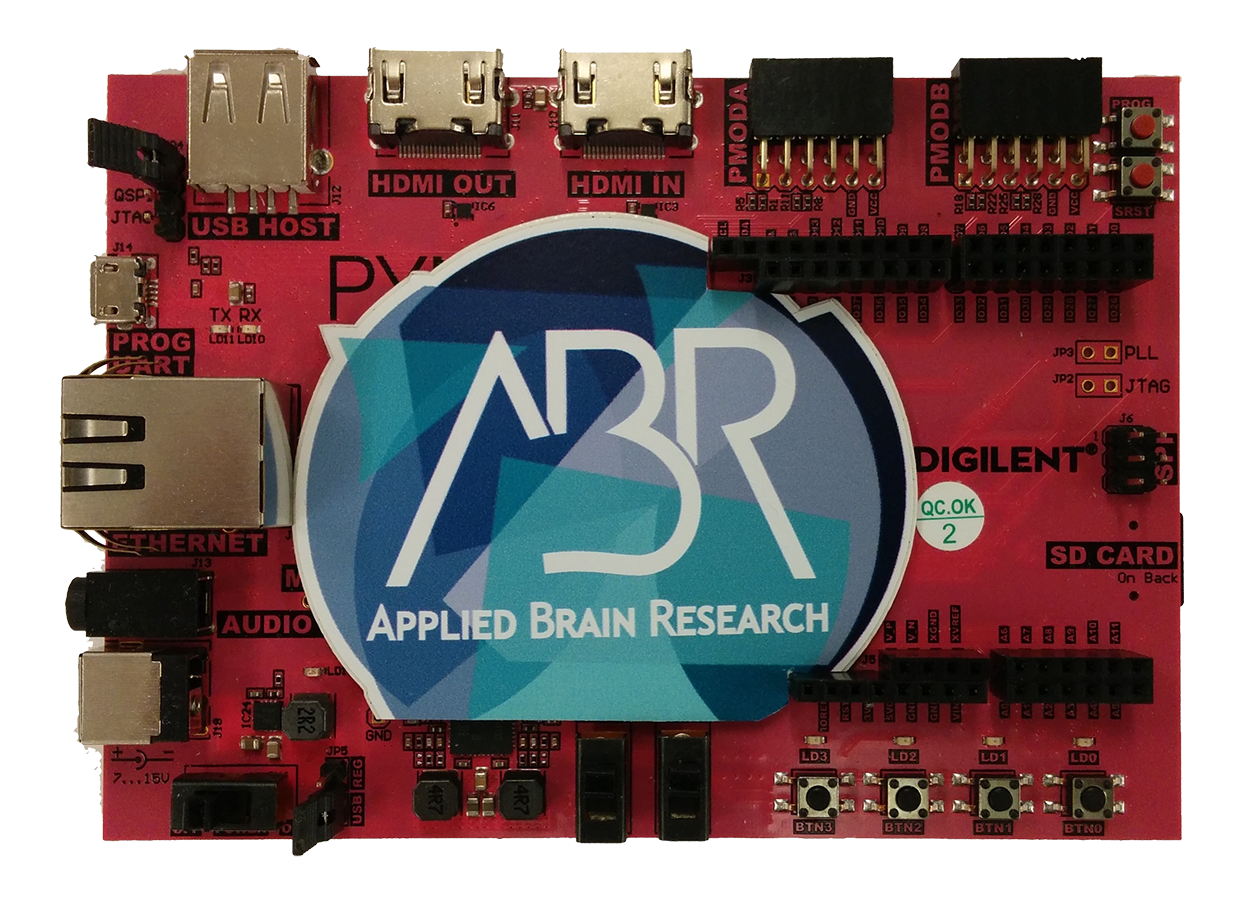
The PYNQ-Z1 board is manufactured by Digilent and uses a ZYNQ 7020 FPGA paired with a dual core ARM Cortex A9. The board is available for purchase from Digilent. See the NengoPYNQ documentation for how to use this board with NengoFPGA.
PYNQ-Z2
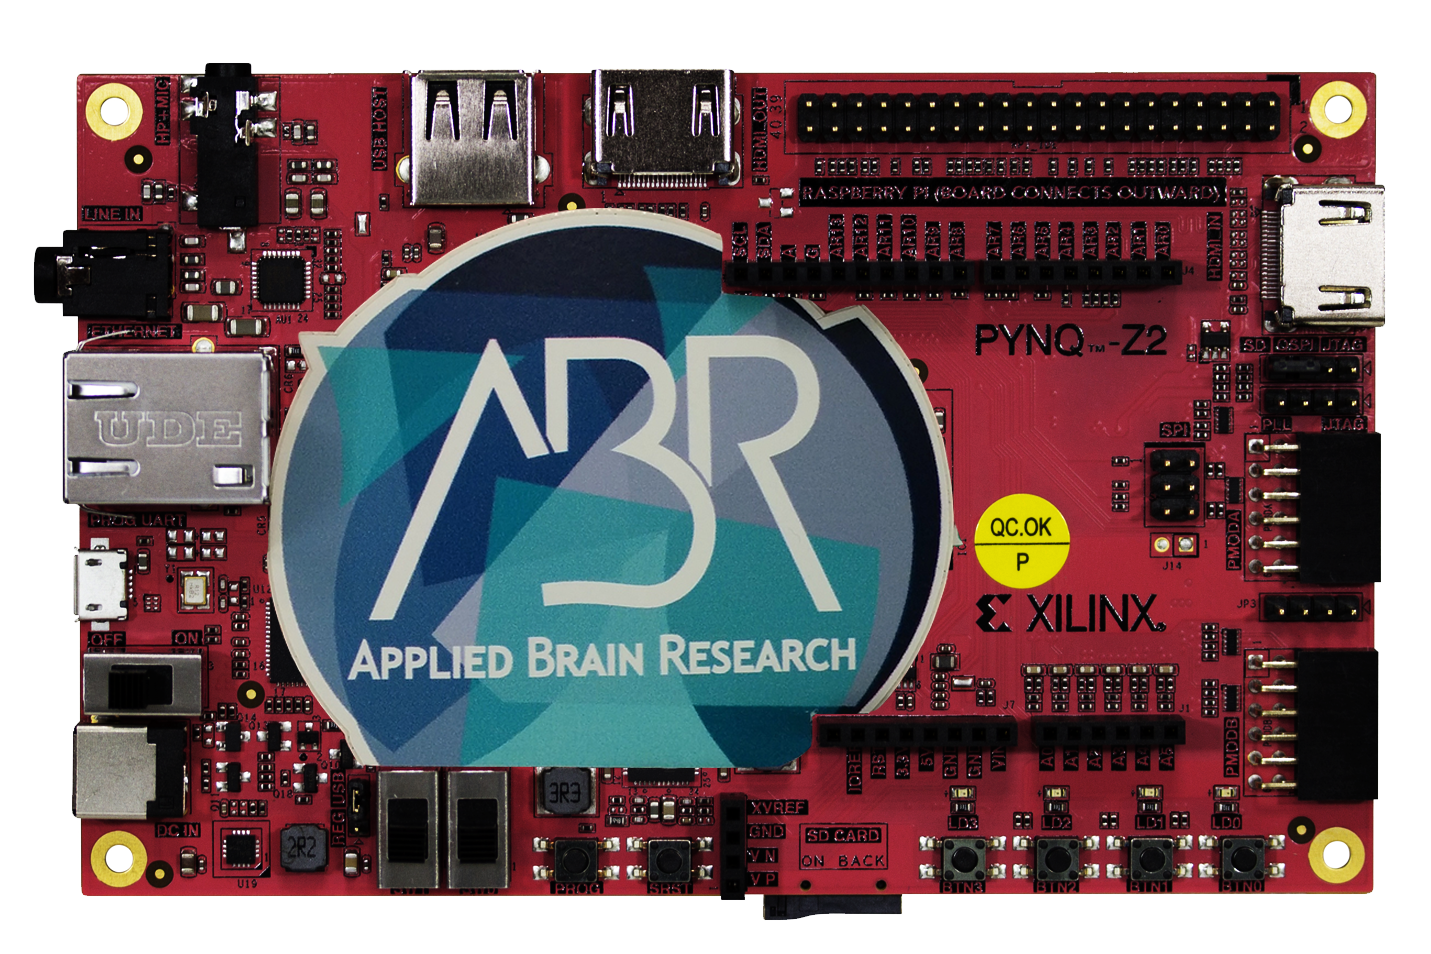
The PYNQ-Z2 board is manufactured by TUL and uses a ZYNQ 7020 FPGA paired with a dual core ARM Cortex A9. The board is available for purchase from TUL (or one of their international distributors). See the NengoPYNQ documentation for how to use this board with NengoFPGA.
Generating and Using SSH keys
SSH keys allow SSH connections to be made without the need for a password. SSH
keys operate in pairs: a private key kept on the host (local) machine, and a
public key copied to the authorized_keys file on the FPGA board.
To generate and use an SSH key with NengoFPGA, follow the instructions below. To support both the Windows and Unix-based operating systems, NengoFPGA uses SSH keys using the OpenSSH format.
Windows
The best way to generate an SSH key in Windows is to use PuTTY.
Download and install PuTTY.
Under the PuTTY group in the windows start menu, run the PuTTYgen application.
Click the Generate button, and follow the on-screen instructions to generate a random SSH key pair.
Exporting the SSH private key:
Click the Conversions drop-down menu, and select Export OpenSSH key. Leave the Key passphrase blank.
Choose a save location for the SSH key (e.g., the install location of
nengo-fpga).
Exporting the SSH public key:
Keep PuTTYgen open. Do not regenerate the SSH key pair.
SSH into the FPGA board using a username and password combination. The username used will have the SSH keys generated with these steps associated with it.
Edit the
~/.ssh/authorized_keysfile with a text editor (e.g.,nano,vi).Copy the public key text from the Public key for pasting into OpenSSH authorized_keys file area of PuTTYgen and paste it at the end of the
authorized_keysfile.
Linux and Mac
On your computer, open a terminal. If SSH has not installed been installed on your computer, install it with
sudo apt-get install ssh(Linux) orsudo brew install ssh(Mac).Enter the command:
ssh-keygen -t rsaThe command above will prompt for a location to save the SSH private key. Leaving this blank will save it to the default location of
~/.ssh/id_rsa.The
ssh-keygencommand will also prompt for a passphrase. Leave the passphrase empty (press ↵ Enter twice).Copy the SSH public key to the FPGA board with the command:
ssh-copy-id -i <location of private key> <ssh username>@<FPGA board IP>
For example:
ssh-copy-id -i ~/.ssh/id_rsa.pub xilinx@10.162.177.99
Note
If the
ssh-copy-idcommand does not work, or is unavailable, copy the contents of the*.pubfile (this is the generated SSH public key) located in the same location as the SSH private key into the~/.ssh/authorized_keysof the appropriate user on the FPGA board.
Configuring the fpga_config File
After generating the SSH key pair, test that they have been properly installed by SSH’ing into the FPGA board. If a connection is made without needing to provide a password, then the SSH key has been successfully installed.
If the SSH key has been successfully installed NengoFPGA can be configured to
use the keys by replacing the ssh_pwd entry with ssh_key, and providing
the location of the SSH private key on the host system. As an example, if the
SSH private key is located in ~/.ssh/id_rsa on the host system, the
ssh_key entry would be:
ssh_key = ~/.ssh/id_rsa
Note
The config file can have either an ssh_pwd entry or an ssh_key entry but not both.
Finding your IP Address
To find the IP address of your computer follow the instructions for your operating system below.
Note
Ignore any address like 127.0.0.1
Windows
Press ⊞ Win + r to open the Run dialog box.
Type in
cmdand press ↵ Enter to open the windows command prompt.Type
ipconfig, and look for the IPv4 Address entry of the desired network interface. This is your IP address.
Linux and Mac
Open a terminal and type
ifconfig | grep "inet "
Using Jupyter Notebooks
Jupyter notebooks are a nice way to add explanations to your code and step through systems piece by piece. NengoFPGA uses notebooks to illustrate some simple examples. The following instructions will get you started with Jupyter so you can run the examples locally or create your own notebook!
Install Jupyter:
pip install jupyter
Start a local Jupyter server:
In a terminal, navigate to the examples folder,
nengo_fpga/docs/examples/notebooks.Start the server with:
jupyter-notebook
This will open a file explorer in your browser.
Open a notebook by double clicking on one of the
.ipynbfiles.You may need to select a kernel, the Python engine that will run code under the hood for you. At the top, click the kernel menu then hover over Change kernel and select the desired Python version.
Click on the first code cell in the notebook and execute it by clicking the play button at the top or pressing Shift+Enter. This will run the code in the current cell and move you to the next cell in the notebook.
Step through the notebook by continuing to execute cells, you can execute the text cells as cell, so no need to jump down and click on each code cell!
Note
Be sure to execute cells in order otherwise you may get unexpected results. If you make changes to code in a cell be sure to rerun that cell and any other cells affected by that change!